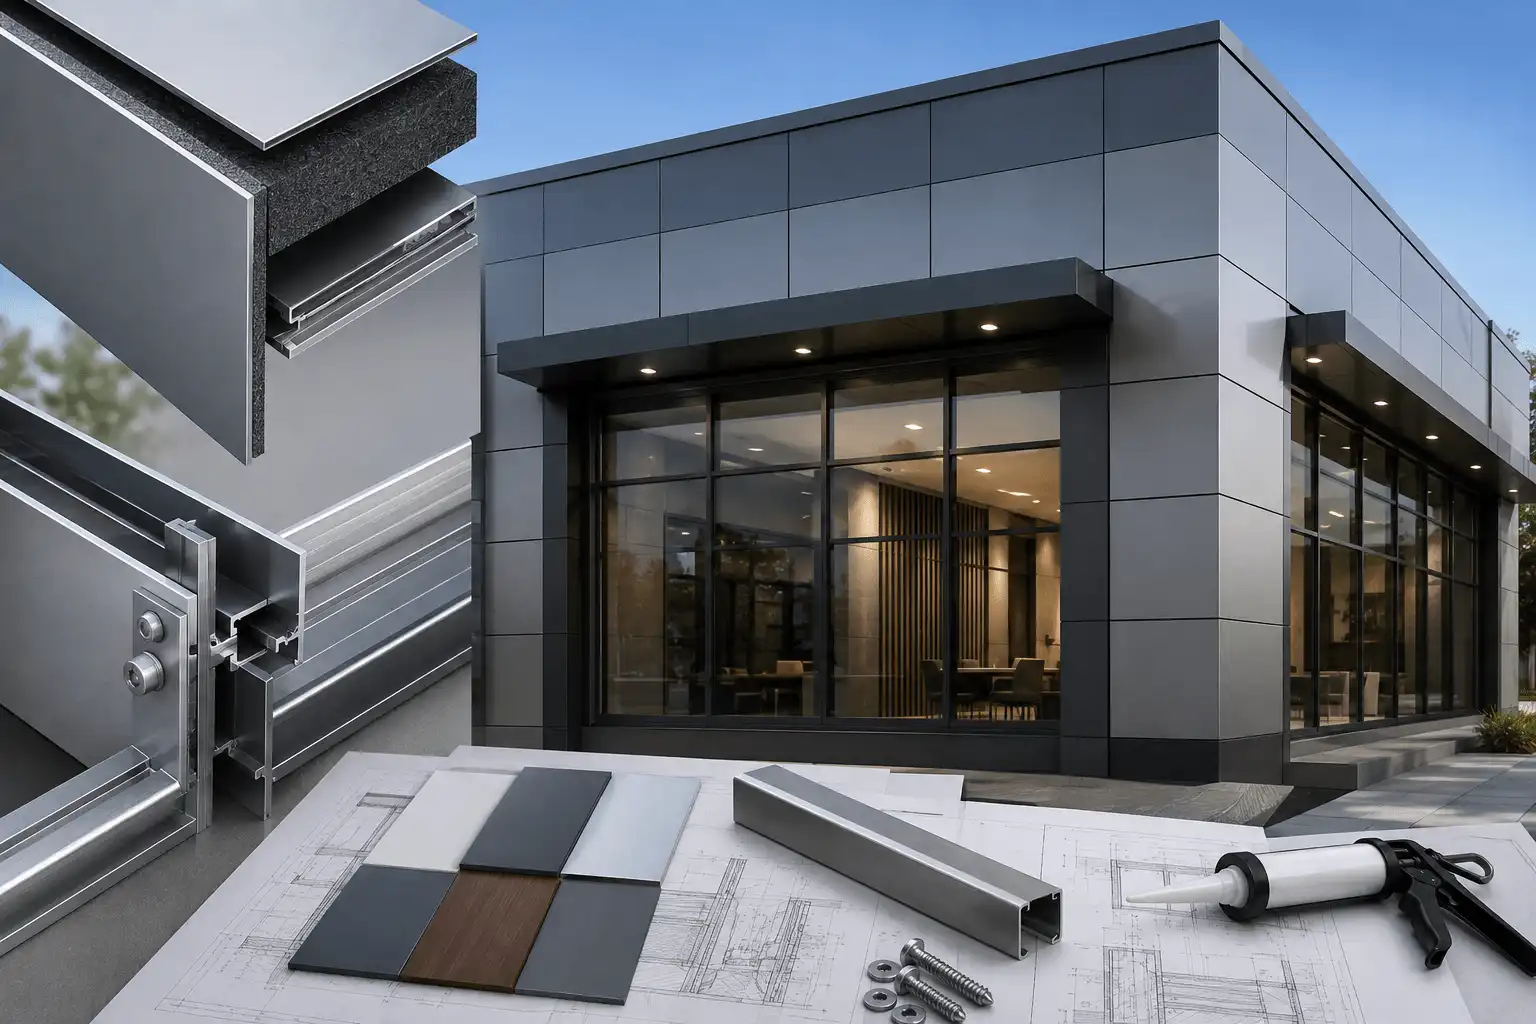
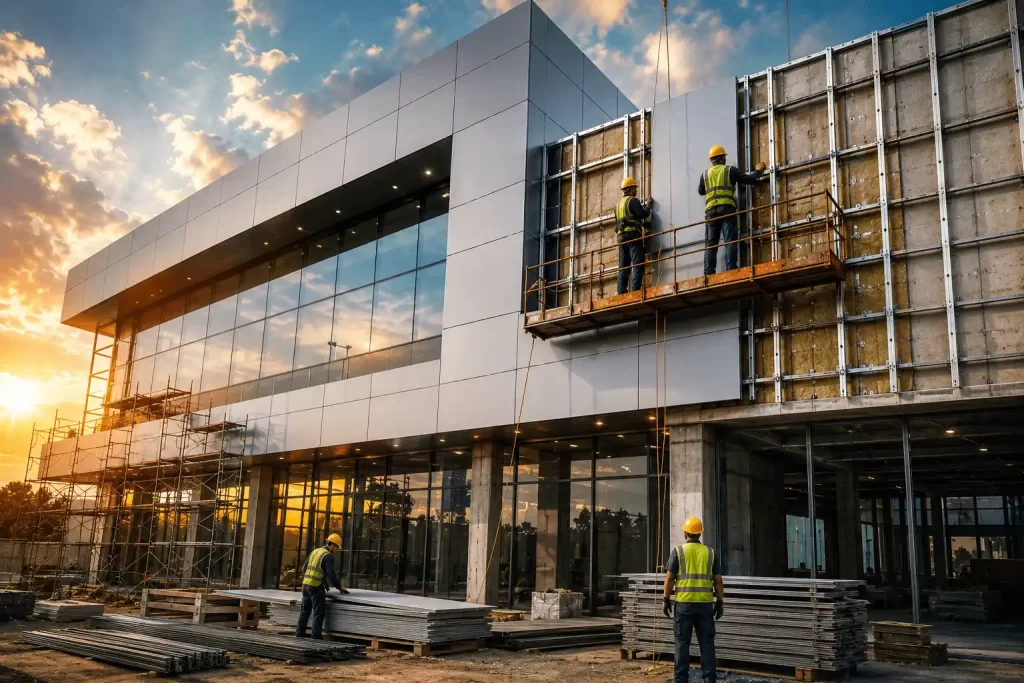
Walk past any commercial building in Chennai, Coimbatore, or Madurai, and the first thing you notice isn’t the structure — it’s the skin. The façade is what people see, touch, and judge a building by, long before they ever set foot inside. But that skin also happens to be the first line of defence against sun, rain, humidity, and wind. Get the ACP cladding installation process wrong, and you’re not just looking at a cosmetic problem down the line — you’re looking at water seepage, panels working loose, and repair bills nobody budgeted for.
That’s the thing about ACP (Aluminium Composite Panel) cladding: it looks straightforward from the ground, but there’s a lot happening behind those flat, glossy sheets. Site surveys, structural brackets, insulation layers, sub-frames, precise fabrication, sealants — every stage feeds into the next, and a shortcut taken early tends to show up as a defect later.
This is especially true in Tamil Nadu. Between the intense solar heat, the humidity, the monsoon rains, and — for coastal projects around Chennai — salt-laden sea air and strong winds, the façade has a genuinely tough job to do. Whether it’s a mall, a corporate tower, a hospital, or a hotel, the cladding needs to hold its own against all of that while still looking sharp.
So before a single panel gets fabricated, the installation methodology needs to be sorted out — drawings reviewed, structural requirements confirmed, materials specified, site conditions accounted for. Below is a practical breakdown of the eight stages that make up a proper ACP cladding installation, along with the mistakes we see most often and what “doing it right” actually looks like at each step.
Why This Matters More in Tamil Nadu
It’s worth pausing on the climate angle, because it changes how façades need to be designed here. High solar exposure causes real thermal movement in cladding components — panels expand and contract more than people expect. Humidity and heavy seasonal rain make drainage and weatherproofing non-negotiable. And along the coast, salt air and wind loads add another layer of complexity to anchorage and material selection. None of this is optional detailing — it has to be built into the façade from the design stage.
There’s also fire safety and energy performance to think about. Depending on the building type and the regulations that apply, the façade build-up may need specific insulation, cavity detailing, and fire-safety measures. That’s a call for the project architect, façade consultant, and structural engineer to make together, based on the applicable codes.
One idea worth keeping in mind throughout: the cost of change goes up dramatically the later a defect is caught. A bracket that’s slightly out of position, or a panel that’s not quite aligned — catch that during installation, and it’s a minor fix. Catch it after handover, and now you’re talking about scaffolding or access equipment, panel replacement, and disruption to a building that’s already in use. Inspecting early isn’t just good practice — it’s the cheaper option.
The 8-Step ACP Cladding Installation Process
Step 1: Site Survey and Structural Assessment
Before anything gets fabricated, someone needs to walk the site and measure it — properly. That means checking actual dimensions, floor levels, openings, projections, columns, beams, slab edges, and the condition of existing walls, then cross-referencing all of it against the architectural and structural drawings. This is also when bracket locations, support requirements, and panel module sizes get decided.
Where it goes wrong: Teams sometimes fabricate straight off the architectural drawings without verifying them on site. Small discrepancies between drawing and reality add up fast — and by the time panels arrive cut to the wrong size, you’re paying for re-fabrication and losing time.
What good looks like: A documented site survey, cross-checked against architectural and structural information, with loads, fixing points, wind actions, and substrate capacity confirmed by qualified professionals before anyone picks up a drill.
Step 2: Setting Out and Bracket Fixing
Once the survey is done, the approved façade grid gets transferred onto the actual building using control lines and reference points. Bracket positions are marked as per the engineered design, and anchors are drilled and fixed into the structural substrate — with the right spacing and edge distances maintained throughout.
Where it goes wrong: Eyeballing bracket positions, or fixing into a substrate that isn’t really suited for it, is a recipe for alignment problems later. It also tends to create extra adjustment work when the sub-frame goes up.
What good looks like: Bracket locations that follow the approved shop drawings and structural calculations exactly, with anchor type, embedment depth, spacing, and substrate suitability all matching the engineered system and ACP cladding specifications.
Step 3: Thermal Insulation and Waterproofing Layer
Before the façade cavity closes up, the specified insulation and moisture-management layers go in. Continuity matters here — around window openings, slab edges, and any penetrations. If the design calls for a rainscreen arrangement, the cavity and drainage paths need to stay clear and functional, not blocked by insulation or fixings.
Where it goes wrong: Gaps in the insulation, poorly sealed penetrations, or blocked drainage paths quietly set up thermal bridges and moisture problems that won’t show themselves for months. Over-compressing insulation to make it fit is another common shortcut that costs performance.
What good looks like: Insulation type, thickness, fixing method, and fire rating matching the approved specification exactly, with weather barriers, membranes, and drainage detailed continuously — no gaps, no shortcuts around tricky interfaces.
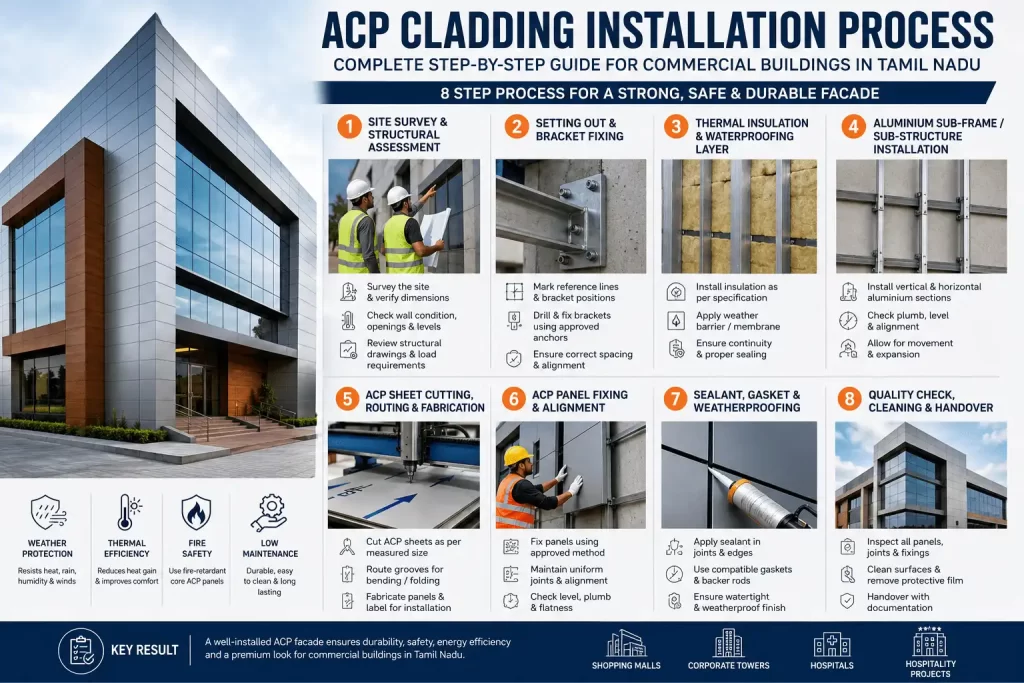
Step 4: Aluminium Sub-Frame Installation
This is the skeleton the ACP panels will eventually sit on — vertical and horizontal aluminium profiles installed to the engineered design. Every member gets checked for line, level, and plumb, and connected properly to the brackets. Movement allowance is built in here too, so the façade can flex slightly with normal building and thermal movement without stressing.
Where it goes wrong: Any misalignment in the sub-frame passes straight through to the visible ACP surface — there’s nowhere for it to hide. Over-tightening connections, or skipping the movement allowance to make things feel more “solid,” actually introduces stress the system isn’t designed to handle.
What good looks like: A sub-structure built exactly to the approved shop drawings, with profile sizes, connections, tolerances, and movement provisions all verified before a single panel goes up.
Step 5: ACP Sheet Cutting, Routing, and Fabrication
Now the panels themselves get made — dimensions transferred from the approved drawings, sheets cut and routed with the right equipment. Where panels need to fold, the groove geometry has to stay consistent, and the protective film needs to stay intact until installation. Each panel gets labelled so it ends up exactly where it’s meant to.
Where it goes wrong: A wrong measurement, a routing groove cut too deep, damaged protective film, or an inconsistent fold — any of these weaken the panel or throw off its geometry. Fabricating without proper setting-out data first just multiplies the waste.
What good looks like: Fabrication based on approved drawings and site-verified measurements, with cutting, routing, folding, and edge treatment all following the ACP system’s technical requirements.
Step 6: ACP Panel Fixing and Alignment
Panels go up progressively, following the façade grid — and here’s the thing experienced installers do differently: they check joints continuously as they go, not once the whole elevation is up. Joint widths, panel levels, and surface alignment all need to stay consistent, while still leaving room for the movement the design allows for.
Where it goes wrong: Forcing a panel into place to compensate for a sub-frame that’s slightly off creates stress and distortion that shows up as uneven joints. And small misalignments that get ignored early on tend to snowball into visible errors across a large elevation.
What good looks like: Panels fixed using the approved fasteners or concealed fixing system, with alignment, joint width, and movement allowances checked continuously against the shop drawings — not just at the end.
Step 7: Sealant, Gasket, and Weatherproofing
With the panels up, attention turns to weatherproofing the joints. Surfaces need proper preparation before sealant, gaskets, or other specified seals go on — and corners, penetrations, window interfaces, parapets, and material transitions all deserve extra care, since that’s where water finds its way in.
Where it goes wrong: Sealant applied over a dirty or poorly prepped surface won’t adhere properly, no matter how good the product is. Using an incompatible sealant, or accidentally blocking a drainage path, can trap water inside the system — which defeats the purpose entirely.
What good looks like: Sealant chosen for substrate compatibility, movement capability, and weather exposure, with joint preparation and application following the approved specification and recognised standards.
Step 8: Quality Check, Cleaning, and Handover
Before handover, the façade gets a proper inspection — panel alignment, joints, surface condition, fixings, sealant, corners, interfaces, and drainage, all checked systematically. Protective films and construction debris are removed using methods appropriate to the finish. Any defects get logged and fixed before sign-off.
Where it goes wrong: Treating the final clean-up as the quality check is a mistake — it lets real installation defects slip through unnoticed. Scratches, uneven joints, loose fixings, sealant gaps — all of these get harder and more expensive to fix once the building is handed over and occupied.
What good looks like: A documented inspection and snagging process, confirming the installed façade matches the approved drawings and specification, with corrective work completed and all documentation retained for the client.
Installation Checklist at a Glance
| Stage | Key Quality Checks |
|---|---|
| 1. Site Survey & Structural Assessment | Dimensions, substrate condition, structural requirements, openings, reference levels |
| 2. Setting Out & Bracket Fixing | Bracket locations, anchor type, embedment, spacing, edge distances, alignment |
| 3. Thermal Insulation & Waterproofing | Insulation continuity, fire classification, membranes, penetrations, drainage |
| 4. Aluminium Sub-Frame | Profile alignment, plumb, level, connections, tolerances, movement provisions |
| 5. ACP Cutting & Fabrication | Panel dimensions, routing, folding, edge condition, surface protection, labelling |
| 6. Panel Fixing & Alignment | Joint consistency, surface flatness, fixing method, levels, movement allowance |
| 7. Sealant & Weatherproofing | Joint preparation, sealant compatibility, gaskets, interfaces, drainage |
| 8. Quality Check & Handover | Visual inspection, cleaning, snagging, corrective work, documentation |
Final Thoughts
A façade that performs well for twenty years isn’t the result of any one perfect step — it’s the sum of accurate surveying, properly engineered support, controlled fabrication, careful installation, and weatherproofing done right. Skip or rush any one of these, and the risk shifts from “hypothetical” to “when,” not “if” — water leakage, panel movement, early deterioration, and rework that nobody wants to pay for twice.
In Tamil Nadu, where the climate doesn’t cut anyone any slack, this kind of discipline matters even more. It takes coordination — developer, architect, structural engineer, façade specialist, and contractor all on the same page — starting well before fabrication and continuing all the way through to handover.
Planning a commercial project? Get expert eyes on your façade strategy before installation begins.